This month has seen activities that included: Establishing my new Website, My Modeling Desk, Gutting the MTH DCS PA's, Rossco's Interlocking, Ops Session at the EVNGR and an Ops Session at Wayne's.
My new Website
I have started to build my new website where I hope to make it easy to find things of interest from a diverse range of topics.
Take a look - your feedback would be welcome...

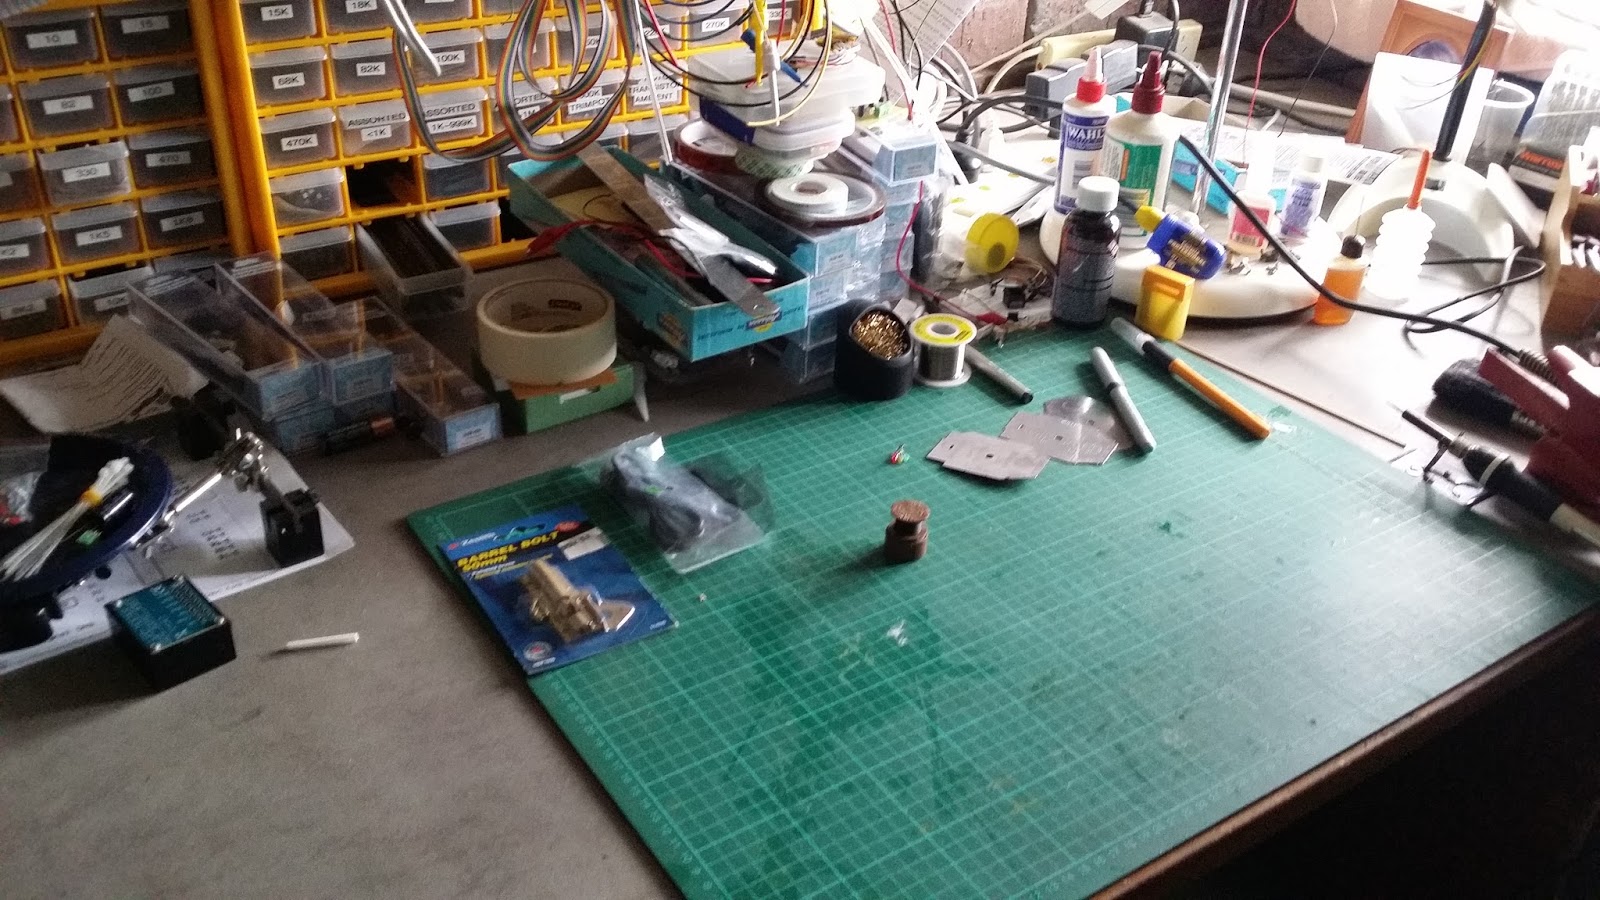
Modeling Desk Tidied
It had come to that point where it was getting harder to find things and the available space for under taking tasks was too small. Well it took about 7 hours to pack things up clean up and be ready for the next project.
MTH PA's/PB
Out with the DCS Proto Sound 3 and in with LokSound V4.0....
I had two PA's and a PB to convert basically the same install in all three except the PB did not have the lighting. Upon disassembly I discovered the LED lights - all six - were wired for -ve ground so every LED had to be removed and replaced with the polarity reversed. It was painful as on assembly the tails of the LEDs had been bent before soldering and some had one leg soldered on each side of the PCB.
The pictures tell the story...
PA's


PB


Rossco's Interlocking
I have finished the Panels and coding so they were bench tested before heading over to install
Bench Testing


 |
| Black Route - No Panel has "Control" |
 |
| Black Route - Panel "A" has "Control" |
 |
| Red Route - Panel "A" has "Control" |
 |
| Red Route - Panel "A" has "Control" - Panel B has "NO Control" |
 |
| Red Route - Panel "A" has "Control" - Panel B has "NO Control" |
 |
| Red Route - Panel "A" has "Control" - Panel B has "NO Control" |
 |
| Red Route retained when - Panel "A" drops "Control" |
 |
| Red Route - Panel "B" has "Control" |
 |
| Black Route - Panel "B" has "Control" |
 |
| Black Route retained when - Panel "B" drops "Control" |
The Tracks


Turn out power and frog power connections

Installing Panel A


Tidying up the wiring loom


Panel B was installed below the control panel for Moorvale.

Ops Session @ EVNGR
Last year Andrew Emmett brought Gerry Hopkins and Peter Jackson to see my layout and I was invited to go see Peter Jackson's Eureka Valley Narrow Gauge Railroad. I followed this up and some of our Monday Night Group and Wayne went up for an Op Session.
The theme for the EVNGR has its origins to the Nevada County Narrow Gauge – a 3’gauge railroad that serviced some of the gold mining areas of northern California. Peter's inspiration came from reading Gerald Best’s book about the NCNG and the era is set in the 1930’s to early 1940’s


We had a lovely evening operating the layout - so much so the crew suggested we should visit Peter at least once per year!

Peter is a Master Model Railroader and here is a link to his layout tour on the Australian Region NMRA Website.
Thanks Peter!
The theme for the EVNGR has its origins to the Nevada County Narrow Gauge – a 3’gauge railroad that serviced some of the gold mining areas of northern California. Peter's inspiration came from reading Gerald Best’s book about the NCNG and the era is set in the 1930’s to early 1940’s


 |
| Barry, Peter, Chris, Derek & Wayne (L to R) |
We had a lovely evening operating the layout - so much so the crew suggested we should visit Peter at least once per year!

Thanks Peter!
Ops Session at Wayne's
We had fun at Wayne's testing out the "NEW" Lowood Crossing. It was good to see Don and Des could make it too. We had a good session until Murphy struck us when one of the Capacitor Discharge Units failed! The failure meant the turnouts in three stations were not operable. We has refreshments a bit earlier than planned.


 |
| Chris & Des |
 |
| Don & Barry |
 |
| Des & Wayne |
 |
| Wayne & Don |
I think the "NEW" Lowood Crossing works so much better than the previous one - well done Wayne!
We look forward to our next visit in March.
Till the end of March.....
-ooOOOoo-


